It’s another juicy “Tips and Tricks” tidbit, from me to you, my faithful readers. This is an addition to the last T&T I did, concerning Live Paint and Live Trace in Illustrator… Wonderful, wonderful tools. Especially for those of us who want to vectorize their scanned inked work, or color in their already-digital lineart.
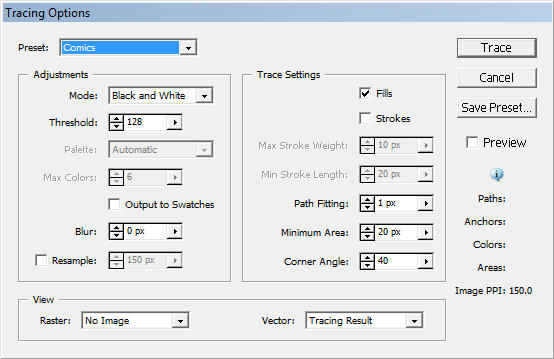
The Live Trace tool has a million presets, and ways for you to customize it yourself. You’ve probably already played with the commonly used presets, like “comic art” or “inked drawing”. I found these didn’t give me quite the result I wanted. After a lot of playing around with Tracing Options, I now use this saved preset below:

This all depends on how big you make your comic to begin with, and how “fine-tuned” you want your comic to look in the end. Live Trace can smooth out lineart if you scan in an inked image that tends to look somewhat rough-around-the-edges. But maybe you LIKE those rough edges, and you’d rather it just keep the fine detail. My settings are somewhat more specific, giving me more control. Once you find yours, be sure to save the preset, so you can always use it again!
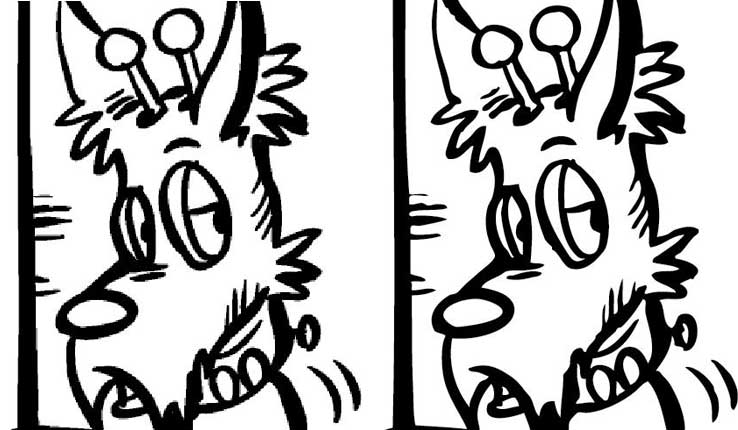
An example of the before and after (it’s very slight, hope you can see the difference):

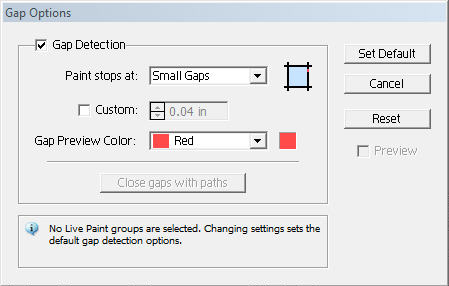
As for Live Paint, the main setting you should toy around with is the gap settings. This is located under OBJECT–>LIVE PAINT–>GAP OPTIONS. The “gap” is how big of an area the live paint bucket is allowed to fill. You can simply change it to small, medium or large. Personally, I use “small”.. Again, more control.

That’s it for today! Happy comicing!


Discussion (4) ¬
Ooohh AI looks like so much fun. Had photoshop and Dreamweaver cs4 on a 30 day trial and they spoiled me.
Company Man fanart was awesome and brilliant! Liked the David Bland comment too. Lotsa luck.*Throws lucky buckeye*
Awesome, thanks for sharin’ the knowledge.
sure thing, guys!
*ducks flying buckeyes, they can hurt*